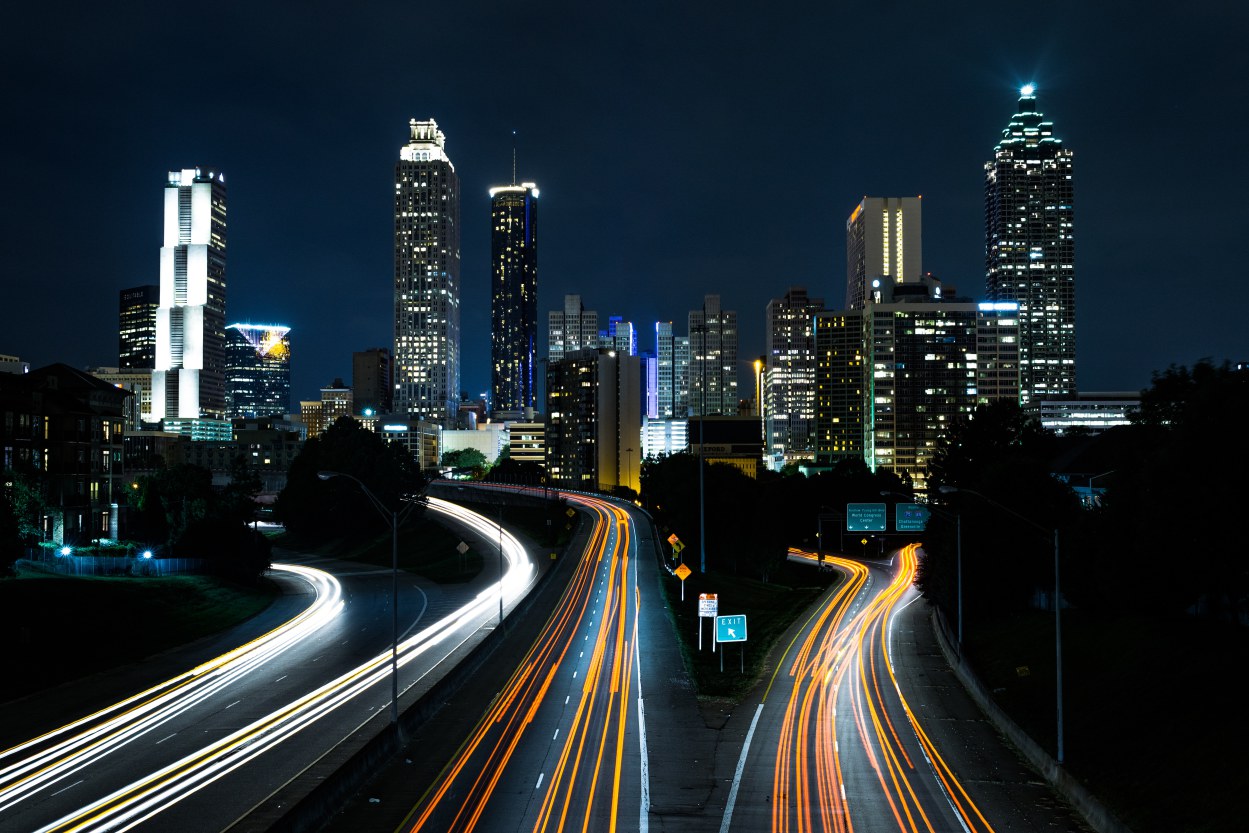
Time-lapse photography… how can one not love it? At one point we’ve all seen a video of this genre that we simply couldn’t get out of our head. Whether it’s shooting beautiful nature changes such as clouds movement or sunsets for instance, urban changes like the city skyline over a night’s time or even delicious cookies baking in the oven, there’s something about the progression of time that seems to mesmerize us.
The process of time-lapse photography is pretty straight-forward and involves the following steps: deciding on the subject, establishing at what interval you want to take photos, taking the photos with your DSLR or GoPro action camera, editing them and ultimately creating your movie. All these steps are equally important and therefore each deserves its fair share of careful planning and execution in order to successfully complete your project.
In this article we are going to focus on one of the above-mentioned steps, namely the editing of our time-lapse photos.
Edit Multiple Photos at Once
So, once you’ve taken your shots, the next step is to download them into your computer and begin tweaking them. Now, in this particular stage, the key is to automate the editing process because you can’t really go through hundreds of images and adjust them one-by-one. You need a software that can automate repeatable operations and implicitly increase your productivity.
One option would be an all-round software. But you can also opt for one especially designed for batch editing, such as BatchPhoto for instance. With such a tool you can speed up the process by applying a wide range of edits to your time-lapse photos at the same time, in a single session. Here’s what you can do:
Batch Convert RAW Files
If you’ve shot your photos in RAW, which many photographers do, you’ll need to convert them afterwards to a more popular image format like JPEG or TIFF for example. Of course, there isn’t just a single RAW format, there are numerous. No need to worry though, since BatchPhoto can read RAW files from the majority of DSLR cameras.
The process is simple: you add your photos, select an output format and destination folder and then let the app process them. At the same time you have the possibility to rename the entire batch of photos and give them a meaningful name according to the scene you’re shooting. Just go to Edit Photos and in the Edit Names section choose the way to rename your images: to the folder’s name, to the date or by entering the exact file name you want.
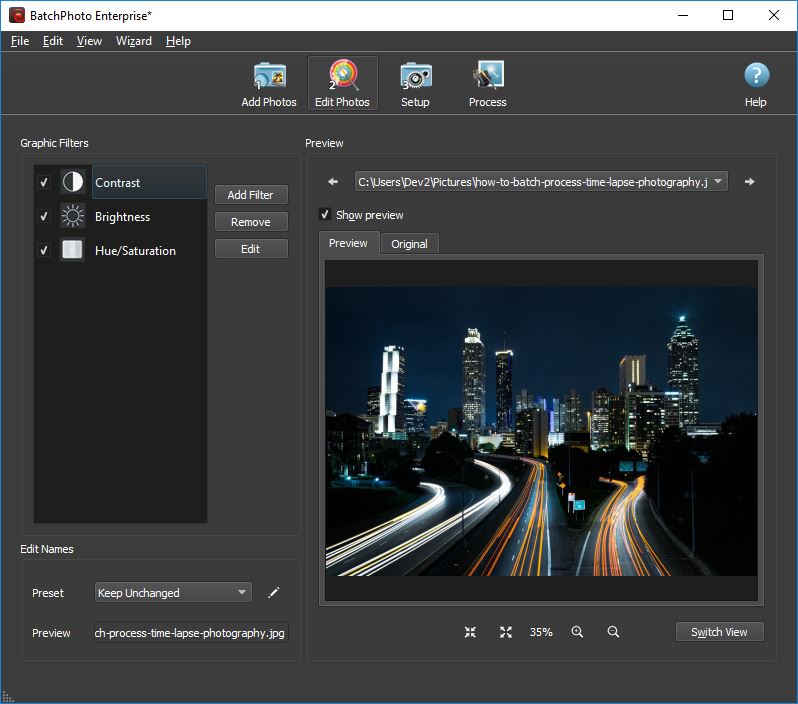
Adjust the Contrast and Brightness
Sometimes a time lapse photography software may be necessary to correct certain characteristic parameters of your photos in order to make them more appealing. Two of these parameters are the contrast and the brightness which can have a huge influence on the final appearance of your pictures.
Even though you’ve carefully set the camera’s exposure, it may be possible to have to deal with overexposed or, on the contrary, underexposed pictures. Regardless of the situation, you can still obtain a well-balanced image with the aid of the Contrast and Brightness features.
Just go to Edit Photos > Add Filter > Touch Up and then select the desired filter. Next simply drag the slider to the left or to the right depending on your adjustment needs. Play around with the sliders until you obtain the proper balance between light and dark details.
Adjust the Colors in the Image
Another typical edit you may need to resort to is color correction. In case you’re looking for something extra to add to your pictures, you can try to increase color intensity for a bolder look.
Go to Edit Photos > Add Filter > Touch Up and click on Hue/Saturation. Next drag the Hue, Saturation and Lightness sliders to the right and to the left until you find the right combination. Just make sure you don’t go overboard with the color intensity, because then you’ll no longer have a natural-looking image, rather a fake, unpleasant one.
Create Movie in QuickTime Pro or GoPro Studio
Once you’ve finished editing your images, you can begin turning them into a movie. For this last operation you can use various video editing tools, but one of the most recommended software to assemble your time-lapse video is QuickTime Pro. Many have chosen this tool simply because it’s quite easy to use and gets the job done effectively. You can find a step-by-step guide about creating a time-lapse video in QuickTime Pro here.
In case you’ve shot your sequence of still photos with GoPro, you can use the camera’s own video editing tool to assemble your video. Just follow this tutorial about how to compile a time-lapse in GoPro Studio.
Creating a time-lapse video is a challenging task, since it requires a lot of patience, dedication and some basic editing skills to improve the aspect of your photos. But no matter which image enhancement techniques you’ll apply, using a batch photo editor will considerably simplify your work and help you save a lot of time.
You can try BatchPhoto for free right now by downloading from here!
Is there currently a way or do you plan on adding in fisheye filters for GoPro models to remove the fisheye effect?
Hi, Mark. BatchPhoto doesn’t currently have a filter to remove the fisheye effect, but we’ll definitely take your suggestion in consideration for future updates.